OK so this was something I had been toying around with about a year ago.
But I decided to start some work back on it.
Now the one thing i am unsure of here is...would anyone else ever want
to play it?
Well what is it? You ask!

its definately not this, however i do wanna play it! hehe
So in my household, Superheroes, comic books, movies, you can’t get away
from them. My eldest daughter is unashamedly a massive comic book fan. As is my
wife, who has a ridiculous collection of wolverine comics.
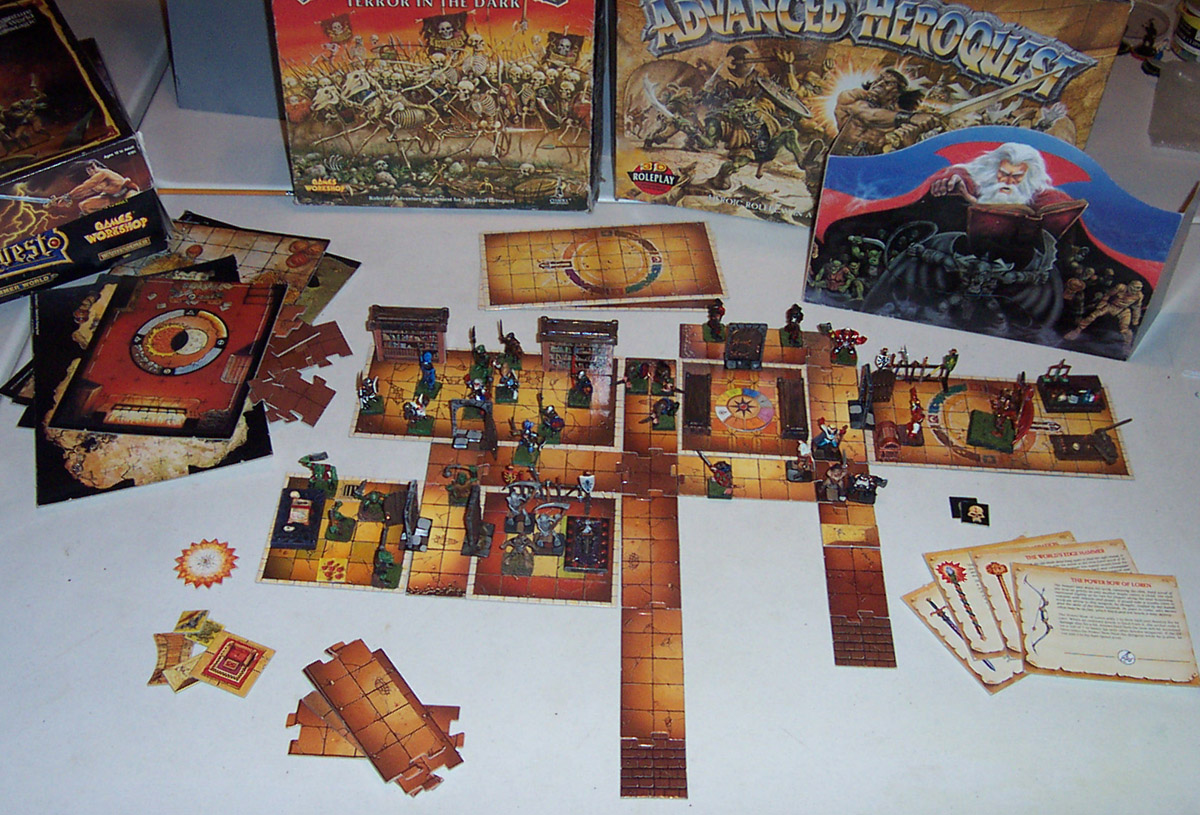
This being said playing things like heroquest and such goes down well. Because
it’s clear as day that myself and my family all like that sort of thing. but
one day my daughter asked if there was a superhero game like heroquest, where
you could be your favourite superheroes, trawling through the evil villains lair,
taking out the henchmen and thugs, solving puzzles and dodging laser beams and
other contraption laid out.....and i searched and searched....and there is
nothing i could find.
i have a huge box of over 1000 heroclix inside. but that's a tactical
skirmish game. its fun (at least it used to be) but has no rpg element to it or
sense of attachment to your heroes. You build a points team and go beat someone
up...that’s it. Further searching led me to many pen and paper styled superhero
games. But alas.....there is no crawler. Nothing anywhere that bridges the gap
of rpg, dice rolling, adventuring and fighting tactically.
Nothing!!!
So what do you do? go about making your own right? Now this is only a
very minor project of mine. But it seems to be gathering momentum of late.
so the plan was...how do i make something that’s fun and works in a
crawler style that also has to encapsulate super powers over some barbarian
dude going out and buying a bigger axe for his next mission?
so the plan was. Get all the best ideas i like from various crawlers and
try to tie them in and adapt to fit into a super powered game.
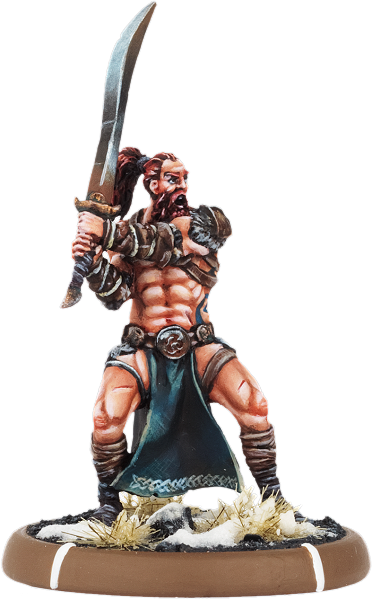
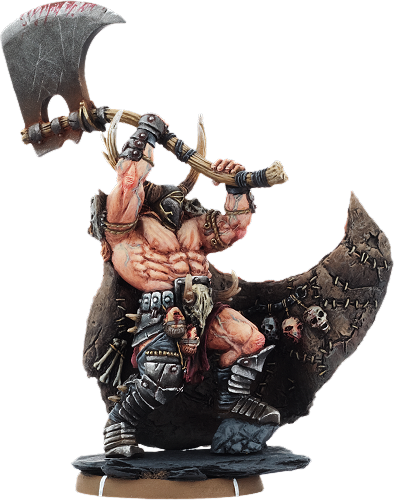
so a game that has the best of this

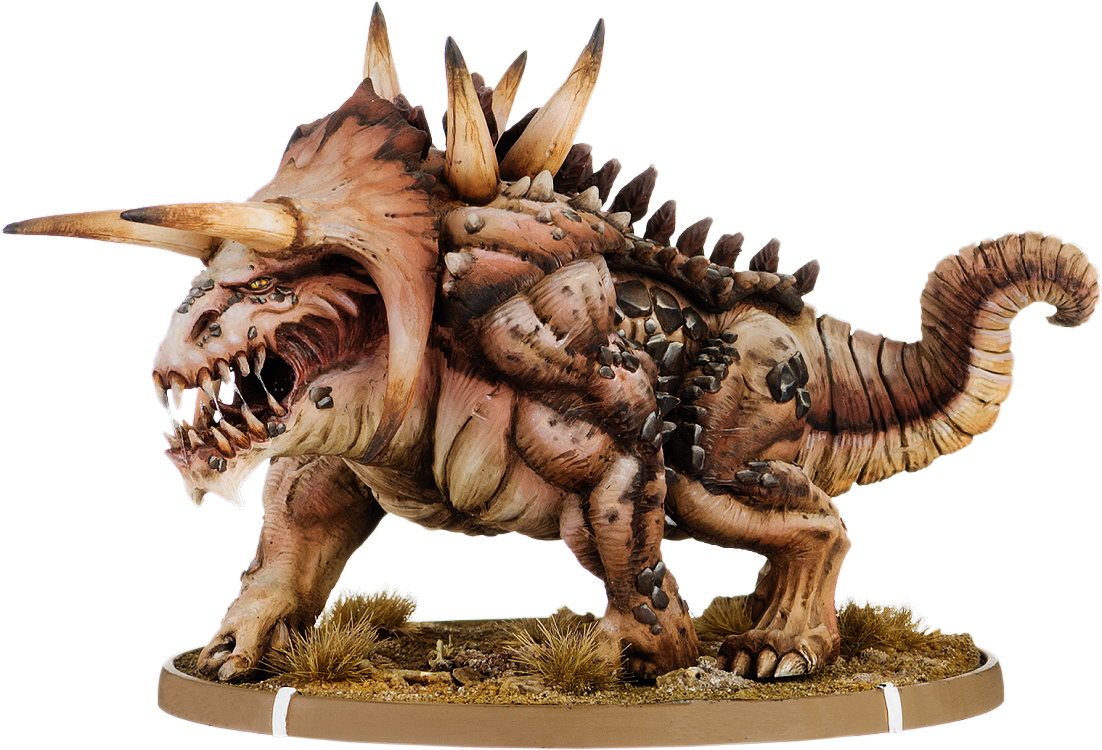
THIS

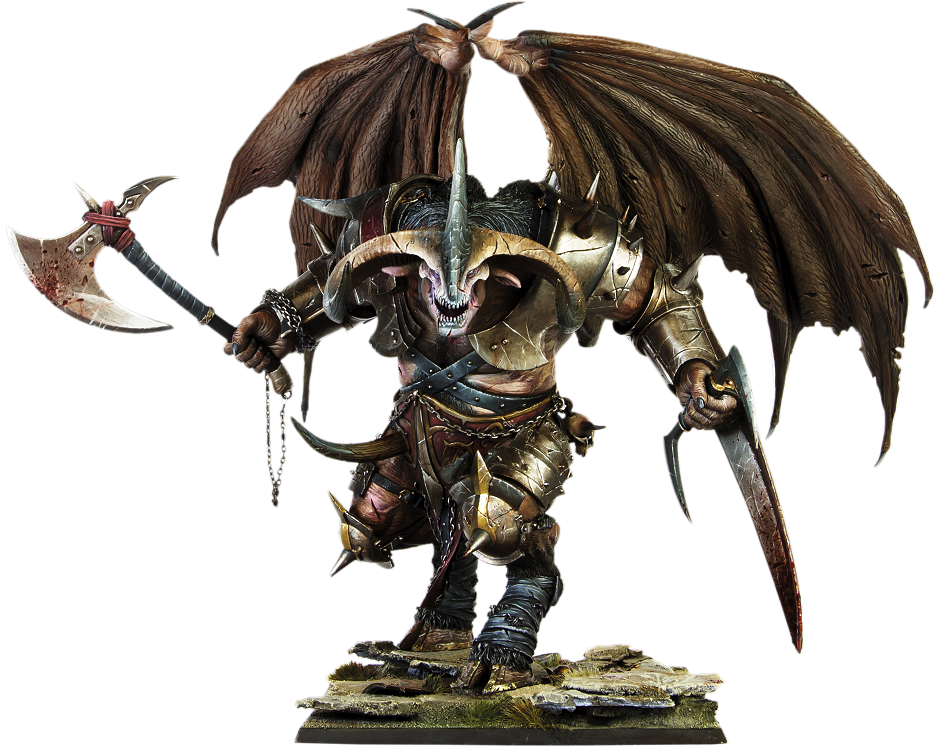
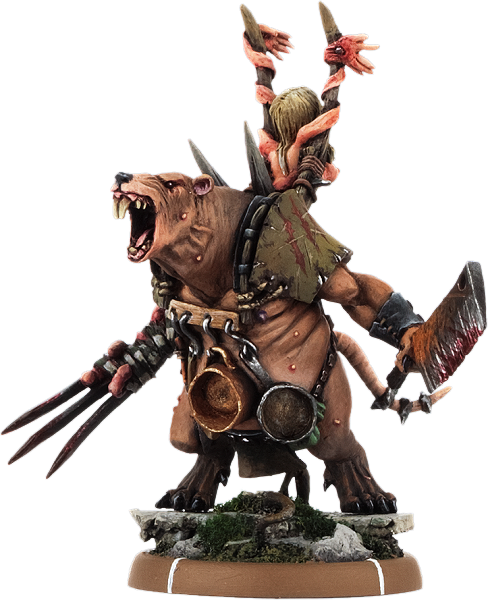
THIS

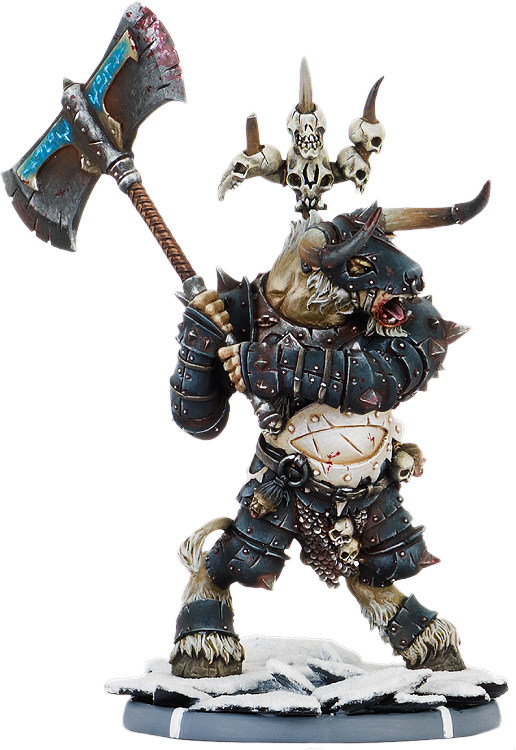
THIS
THIS

and maybe some of this

as well as all the other ideas i can/have come up with
well it’s still very early. But as i said i seem to be gathering some
sort of speed with it. First i had to tackle the challenges.
- Powers - how to encapsulate nearly every power in a simple way that doesnt overpower characters.
- Stats - a simple stats base that does limit as well as provide balance.
- Balance that works on a level that is still a challenge but not a case of superman flying in, using his x-ray vision and smashing his way through every wall to get to the end.
- Money? Heroes and money don’t really have much of a connection unless you are writing for dc comics whereas you just make everyone millionaires anyway!
- Loot - what use does a hero have in finding a rare gem? He would just hand it in to the local museum anyway right? My approach will garner more one shot items or events that can buff a hero temporarily or give them options within events that will either giver rewards or negatives.
- How would it play on a board? well I’ve already gone with modular board pieces and intend on these being double sided too to encapsulate indoor and outdoor places
- Quests - right away i thought however this plays. It needs to play out like reading a comic book. each quest being like an issue of your fave comic book. Enabling either singular random missions like foiling a bank heist to much longer campaigns involved around spoiling an evil villains dastardly plan for world domination. Of which i intend to give multiple choices for quests to give extra re playability.
- Character generation - a simple way to generate a base character that you can follow and evolve through his hero career. starting with his origins for character creation and immersion. to simply being able to accurately (within reason) create your favourite heroes.
- Searching? - well i approached this in a different way. Firstly it’s investigating (batman searching for a clue) so it could involve traps. Secret doors (maybe), loot. And clues. (hmmm this looks like slime i wonder what this could be) next clue found reveals where slime comes from and so on...just a little more to immerse the player. and possibly enhance upon campaign based missions.
- an immersive way for the villain to be both a competitor as well as a GM. after all its the villains job to not let the heroes spoil their plans. in some classic cases villains do path the way for heroes (batman is suspended from a cable over a vat of acid by the joker...instead of just shooting him...he gives him a chance every single time by setting a slow timer that slowly lowers him down. Eventually he's nabbed something out of his bat belt and figured a way to escape. al ‘a being shown where to go by the jokers escape! hehe.
So that’s
some of the challenges. of which I’ve counteracted with various different
approaches.
- Powers. Various types of powers that are generalised to represent a power type. all of which are limited to a maximum amount. and also can be counter balanced with a 'flaw' system that enables deeper immersion into the character. e.g.- hulks rage is a flaw. as is his appearance and so on. And all counter balance against the fact that he is the strongest one there is. Many of the character loaded and best comic book characters are riddled with problems and flaws. Of which seem to be panning out in a good way on both a rpg level and dice rolling game board level.
- Stats and balance. Through the powers and the stats you will still have some characters that are a high level. but this is only attainable through a lot of adventures. stats upgrades, new powers and flaws can all be bought at incremental levels meaning each upgrade means the next upgrade will cost more (think how Spiderman has evolved from being a little kid who can climb a wall. to someone who ended up in a iron man suit!) and so on. Hopefully this will pan out...of which a lot of stats testing and gameplay is needed to figure out the best way to refine.
- How will it play? - I’ve gone with a simple 2 action system. Very much like heroquest. This is still being refined due to the tie-ins with powers and such. But quite simply it will be 1 action move. 1 action attack. 2 actions activate power (unless power is always active) 1 action to open a door. 1 action to investigate(however this may move up to 2 actions based on how testing goes)
- Loot and searching. loot and searching will provide either one turn buffs up to something that lasts an entire quest. Money is replaced with hero points (wip) that represents the heroes. Public standing and can be spent for further buffs or saved for character enhancement. These hero points can diminish or grow based on various events in mission or between mission through defeating foes or solving puzzles. But then can also go down based on expenditure. Being defeated or turning away from saving a civilian.
- the board - yup ive decided modular is the way to go. just havent decided how a mission will be generated yet. tables like AHQ or a cards system like WHQ. or simply provide more ways to pre-generate a mission. Either way I’d like to be able to make something that is easy and fun to both play with and create.
- Character generation - I’ve been toying with a lot of things here with this. Having a base stat and hero point level to then build and create your own unique hero. Hopefully this can also be used to create your favourite heroes. the origins builds up where you choose what type of hero you have be it mutant, human, alien or robot. And upon building stats and powers can represent various skills, gadgets and super powers your hero may have.
- Villain player - the whole point of this is i want the villain player to be going "mwuhahahaha you will never defeat me!" at the end of every turn. Allowing him to throw traps and devious plans your way constantly to keep it all a challenge. i also want to be able to give the villain a way to WIN. So a simple bank heist could lead to other various plots. 1. Hero stops the villain and saves all the stolen bags of money. Only to find out it was a decoy to lure the heroes whilst the bigger plan unfolds elsewhere. 2. The villains escape with 'some' of the money. Thus setting up a further alteration later on in the campaign. 3. All the villains escape with the money thus giving the villain a boost/buff/head start on next mission. These are all things I’m toying with to make this as immersive as possible rather than someone that just lays out the board. i want them to have an objective no matter how simple or elaborate it may be.
on
top of this i have a whole load of more ideas kicking around.
- Travel system for campaigns to immerse more between missions.
- well-designed city for any future ideas to be built upon.
- Hero base - something for campaigns where more hero points can be spent to give permanent buffs. Store vehicles and so on...still a WIP here.
- Sidekicks.
- police help (henchmen)
- further scenarios
- events
- arch enemies
So that’s
some of the challenges. of which I’ve counteracted with various different
approaches.
on top of
this i have a whole load of more ideas kicking around.
i suppose
it’s a treasure trove to investigate once you start looking into the immersion
of all comic books and try to encapsulate them into the perfect board game
hehe. However possible i do not know. But I’m going to try and make something
that is worthwhile and fun. and hopefully easy to play too hehe.
So is
this a sales pitch??? Hell no. i just thought i would share my ideas. And see
if anyone is at all interested in this sort of approach to a dungeon crawler. i
haven’t seen any mention of anything of this type anywhere. Now either I’ve
come up with something nobody else has thought about. Or nobody gives a shit
and thinks it’s a crappy idea. Either way. I’d love to know your thoughts and
see if anyone is actually interested at all.
i just want
to try my hand at making a fun game. and wherever it goes after that...i dunno.
kick starter maybe? Hey it can’t be anywhere near as bad as the heroquest 25th
anniversary debacle now can it? hehehe.
anyway let me know what you guys. think. good idea or villainous idea? anything at this point would be much welcome :)